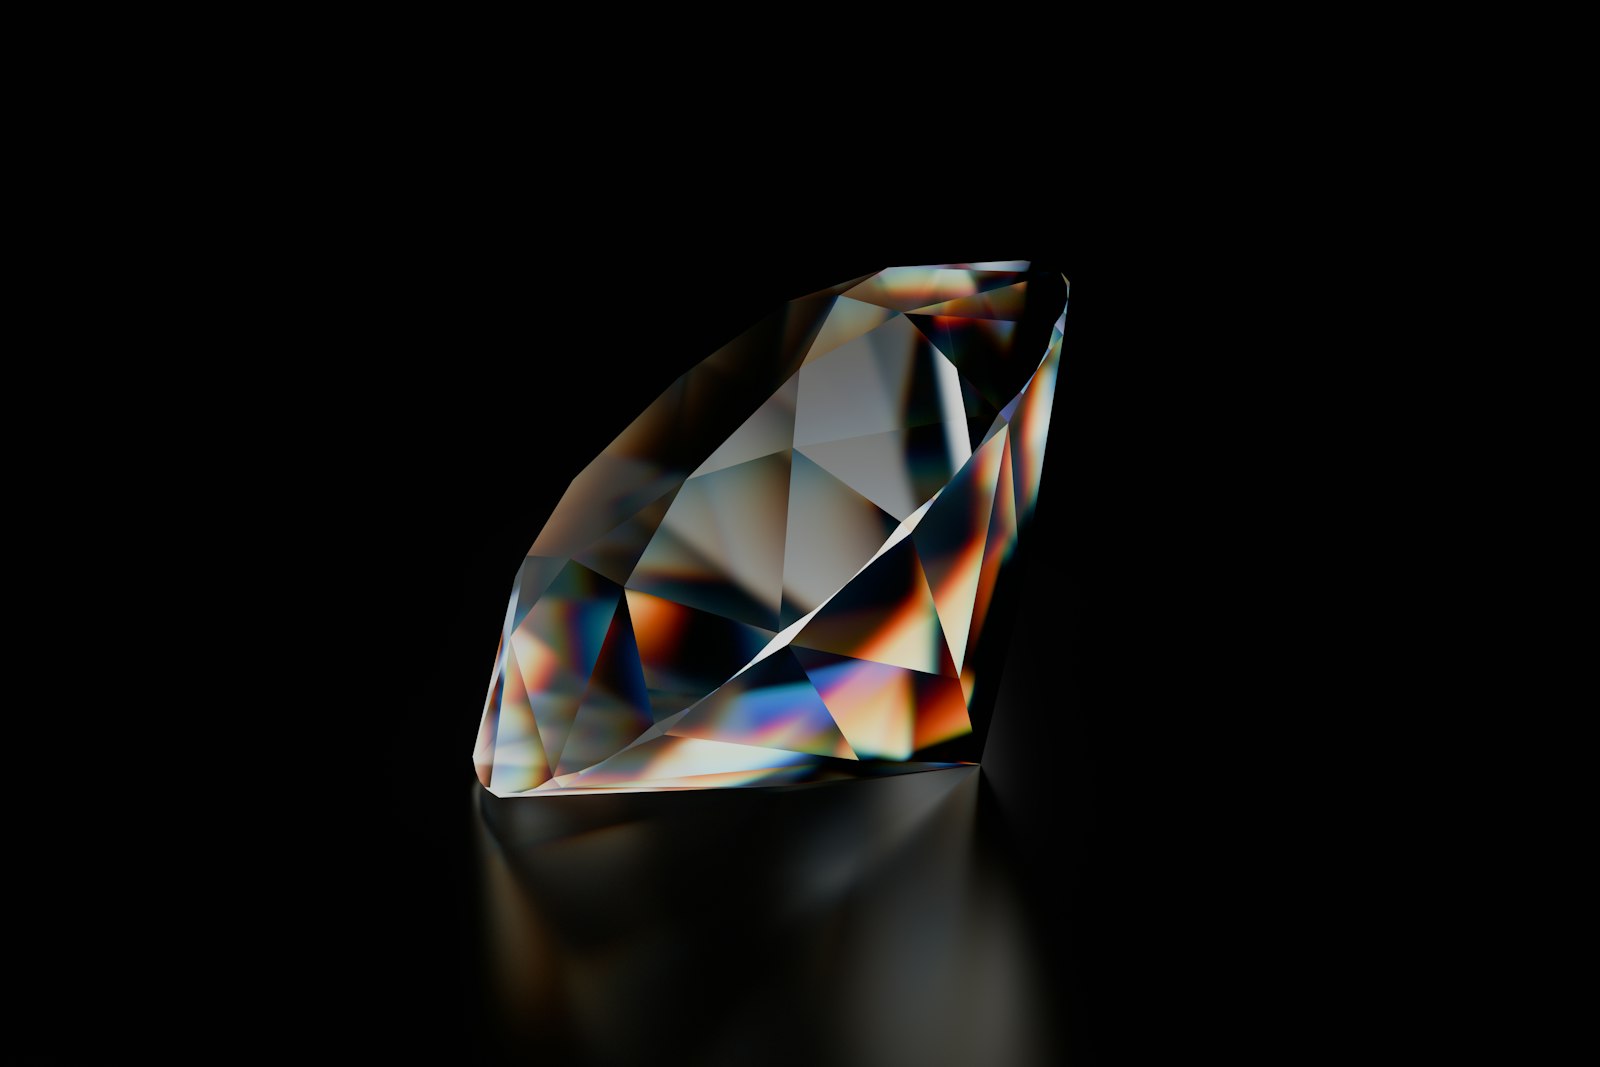
Two diamonds can sit side by side, look identical to the naked eye, and differ in price by a factor of three. Nothing dishonest has happened. The pricing is driven by a set of specific, knowable factors — and once you can read them, you can tell the difference between a stone that is expensive because it is exceptional and a stone that is expensive because of a number on a certificate that you will never be able to see.
This article explains how diamond pricing is constructed, in the order the factors matter.
The pricing framework the trade uses
Wholesale diamond pricing is organised around published benchmark price lists that grid carat weight against colour and clarity, updated regularly. Traders quote stones as a percentage above or below the relevant list figure, adjusted for everything the grid does not capture — cut quality, fluorescence, the certifying laboratory, the shape, the specific inclusions, and the stone’s saleability.
Two consequences follow from this structure and they explain most of what confuses retail buyers:
- Price does not increase smoothly. The grid is stepped, so price jumps at grade boundaries and at weight boundaries.
- The grid is built on colour and clarity, not cut. Cut adjustments are applied afterwards. This is a large part of why the trade’s own pricing conventions have historically under-weighted the C that matters most visually.
Carat weight: the steepest curve and the sharpest cliffs
Carat is a unit of mass, not size — one carat is 0.2 grams. Two facts about how weight is priced dominate everything else.
Price rises faster than weight
A two carat diamond costs far more than twice a one carat diamond of the same quality — typically several times more. The reason is scarcity: large rough crystals of gem quality are rare, and cutting a large finished stone requires an even larger rough. The supply falls away sharply as size rises, and price rises to match.
This is why “buy two half-carat stones instead of one carat” is genuinely much cheaper, and why three-stone and halo designs exist as a way to achieve visual scale at lower cost.
Prices jump at the round numbers
Demand clusters at psychologically significant weights — 0.50, 0.70, 0.90, 1.00, 1.50, 2.00 carats — and price steps up sharply at each. A 1.00 carat stone commands a substantial premium over a 0.95 carat stone of identical grade, even though the difference in face-up diameter is a few hundredths of a millimetre.
Buying just below a milestone weight is the largest, easiest saving available in the whole diamond market. Nobody will ever look at your ring and identify it as 0.94 rather than 1.00 carat.
Cutters know this too, which produces a related problem worth understanding.
Weight retention distorts cutting
A cutter faced with a rough crystal that would yield either a beautifully proportioned 0.94 carat stone or a slightly deep, slightly dull 1.01 carat stone will very often cut the 1.01, because it sells for more. The excess weight is hidden in the depth of the stone, below the girdle, where you cannot see it.
The result is a class of stones that are heavy for their visible size — they weigh a full carat and look like 0.85. You are paying for mass you cannot see.
How to detect this: compare the millimetre diameter, not the carat weight. For round brilliants, a well-cut one carat stone measures around 6.4–6.5mm across. If a one carat stone measures 6.1mm, weight has been hidden in the depth. Check the depth percentage on the certificate as well — unusually high depth for the shape is the same signal.
Cut: the largest driver of appearance, priced second
Cut is the assessment of workmanship — proportions, symmetry and polish, and how well they return light to the eye. It is the only C that a human being chose rather than nature produced.
A poorly cut diamond is too shallow (light passes straight through and out of the bottom, producing a glassy, watery look) or too deep (light escapes out of the sides, producing a dark centre). An excellently cut diamond returns light back through the crown, which is what we perceive as brilliance and scintillation.
The price of cut is asymmetric and this is the great value opportunity in the market. The premium for an Excellent cut over a Very Good is modest. The visual difference is the largest available for the money. Buy the top cut grade and take the saving elsewhere.
The critical caveat: GIA does not assign an overall cut grade to fancy shapes. For ovals, pears, cushions, emeralds, marquises, radiants and the rest, the certificate reports polish and symmetry but no cut grade. This means:
- Fancy shapes are cheaper per carat than rounds, partly for this reason and partly because rounds waste more rough in cutting.
- You must assess cut yourself, from the measurements and from video, because no grade is doing it for you.
- The variation in quality among fancy shapes at the same nominal specification is enormous.
For fancy shapes, look at length-to-width ratio, depth and table percentages, and above all look at the video for the bow-tie — the dark shadow across the waist of ovals, pears and marquises. A faint bow-tie is normal and unavoidable. A heavy black one is a permanent defect and should be priced accordingly, or avoided.
Clarity: the grade with the widest gap between price and visibility
GIA grades clarity under 10x magnification on an eleven-point scale: Flawless (FL), Internally Flawless (IF), VVS1 and VVS2, VS1 and VS2, SI1 and SI2, and I1, I2 and I3. The grade reflects the number, size, relief, nature and position of the inclusions and blemishes present.
Prices differ enormously across this scale — and above the VS range, the differences are almost entirely invisible without a loupe.
The concept that actually matters is eye-clean: no inclusions visible to the unaided eye at normal viewing distance. Eye-clean is not a graded category, which is precisely why it is where the value sits. A VS2 or a well-chosen SI1 is very often eye-clean and costs materially less than a VVS.
What changes the calculation:
- Size. Larger stones show inclusions more readily. Above about two carats, be more conservative.
- Shape. Step cuts — emerald and Asscher — have large open facets that act like windows. Inclusions that vanish in a round brilliant’s flashing sit in plain view. Go up at least one grade for step cuts.
- Position. An inclusion near the girdle, hideable under a prong, is worth far less penalty than one directly under the table. The certificate’s clarity plot shows you exactly where they are, for free.
- Type. A white feather or a small crystal is unobtrusive. A dark carbon crystal in the centre of the table is visible at a much better clarity grade than you would expect. Read the “comments” section of the certificate, which often notes the grade-setting inclusion.
Colour: subtle grades, real prices, and the metal changes everything
GIA grades colour D (colourless) through Z (light yellow or brown). Adjacent grades are extremely difficult to distinguish, and the price differences are substantial — the drop from D to G alone is significant.
The setting metal shifts the whole calculation:
- Platinum and white gold press cool white metal against the stone and make any warmth more apparent. G to H is the practical sweet spot: face-up colourless to almost everyone, without the D–F premium.
- Yellow or rose gold reflect warmth into the stone regardless. J, K and even L can look entirely deliberate and beautiful, at a very large saving.
Larger stones and step cuts both hold colour more visibly than small round brilliants, so scale the grade with the stone.
Fluorescence: the discount nobody talks about
Roughly a quarter to a third of diamonds fluoresce — they glow, usually blue, under ultraviolet light. GIA reports it as None, Faint, Medium, Strong or Very Strong.
The trade has long discounted fluorescent stones, sometimes heavily, on the belief that fluorescence causes a hazy or “oily” appearance. In fact:
- Strong haziness occurs in only a small minority of strongly fluorescent stones. Most strongly fluorescent diamonds look entirely normal in ordinary light.
- In lower colour grades (I through M), blue fluorescence can actually make a stone look whiter, because the blue offsets the yellow.
The consequence is a genuine value opportunity: a strongly fluorescent stone of I or J colour, verified by video to be free of haze, can be bought at a real discount and will often look better than its grade. The requirement is that you look at it first. Do not buy fluorescence sight-unseen.
The certifying laboratory changes the price of the same stone
This is not a subtlety — it is one of the largest price factors in the market and it is invisible unless you know to look.
GIA and AGS are the market’s reference standards. Trade pricing is built against GIA grading. Other laboratories exist, and while many are legitimate businesses, a number grade measurably more generously — often by one to two grades on both colour and clarity.
A stone certified by a lenient laboratory as “G, VS1” may be an I, SI1 stone by GIA standards. Priced against its stated grade it looks like a bargain. Priced against what it actually is, it may be expensive.
When a stone is dramatically cheaper than its specification suggests, check the laboratory first. That is usually the entire explanation.
Shape
Round brilliants command a premium — commonly 20–40% over fancy shapes of the same weight and grade. Two reasons: they are the most in-demand shape by a wide margin, and cutting a round wastes substantially more of the rough crystal than cutting a rectangular shape from an octahedral rough.
If shape is not important to you, choosing a fancy shape is a large, immediate saving. Ovals and elongated cushions in particular also tend to look larger than their carat weight, because they spread more surface area face-up. The trade-off is the absence of a GIA cut grade and the need to assess quality yourself.
Natural versus laboratory-grown
Laboratory-grown diamonds are the same mineral with the same optical and physical properties, produced in weeks rather than over geological time. They are graded on the same scales and sold at a small fraction of natural prices.
Two things to hold together:
- The same budget buys a dramatically larger or better-graded laboratory-grown stone. For visual impact per dollar, nothing else in the market competes.
- Lab-grown prices have fallen steeply and continue to as production capacity increases, and resale value is very low.
Buy laboratory-grown because you want the stone at that price. Do not buy it expecting to hold value.
For completeness: natural diamond resale is also weaker than the marketing implies. Retail markups mean a diamond typically resells for well under what was paid. Fine jewellery is a purchase, not an asset class. Any question about value retention belongs with a licensed financial adviser, not a jeweller.
Where the retail markup sits
Between the wholesale stone and the ring on your finger sit cutting and polishing, certification, wholesale and dealer margins, the setting and its metal, the retailer’s overheads and marketing, and the seller’s margin. Online retailers with lower overheads and drop-shipped inventory generally price closer to wholesale than a physical showroom, which is a real advantage — offset by the fact that you cannot see the stone in person.
The value formula, compressed
To get the most visible diamond per dollar:
- Cut Excellent or Ideal. Never compromise. It is the only C you can see across the room.
- Clarity: eye-clean, not high-graded. VS2 or a verified SI1 for most stones. Go up one grade for step cuts and for anything over two carats. Read the plot.
- Colour: G–H in white metal, J–K in yellow or rose.
- Weight: buy just under the milestones. 0.90–0.98 instead of 1.00.
- Compare millimetre diameter, not carat weight, so you are not paying for hidden depth.
- Consider a fancy shape for an immediate 20–40% saving — and assess its cut yourself.
- Consider medium or strong fluorescence in lower colour grades, verified by video.
- GIA or AGS certification only, verified on the laboratory’s own website.
Follow that list and you will consistently buy a better-looking stone than someone who spent the same money on the grades that read impressively on paper.
This article is educational and general in nature and is not financial or investment advice. Diamond pricing is set by market conditions that change continuously; figures given are approximate relationships rather than current quotations. Verify all certification independently before purchase.
Sources consulted: GIA 4Cs — Diamond Clarity (https://4cs.gia.edu/en-us/diamond-clarity/); GIA 4Cs education library (https://4cs.gia.edu/).